A good cappuccino should have airy milk foam, but the foam should still pour with the milk. If it sits on top like stiff shaving cream, you probably added air for too long or did not spend enough time spinning the milk into smooth microfoam. With an espresso maker, add air only at the start, create a steady whirlpool, stop before the milk gets too hot, and pour soon after steaming.
Build a Flavorful Espresso Base Before Frothing the Milk
Start with espresso that tastes balanced on its own. Good milk texture cannot fully hide a shot that is weak, sour, or harsh.
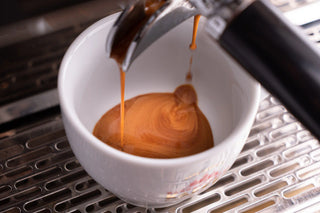
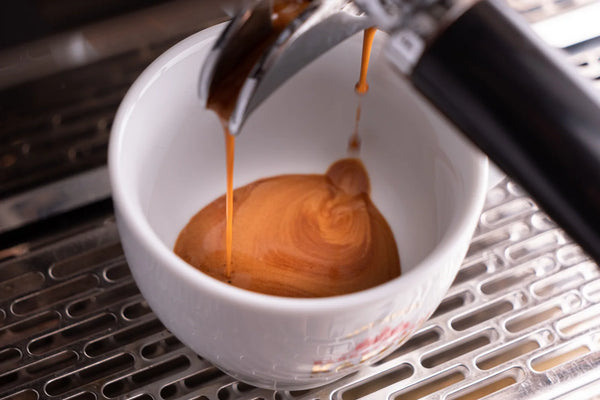
For a cappuccino, pull the espresso before you steam the milk so the milk can be poured as soon as it is ready. If your shot runs much faster than usual and tastes thin, adjust the grind finer on the next attempt. If it runs very slowly and tastes harsh, try slightly coarser.
The goal is a concentrated espresso coffee base that can still be tasted after milk is added. Avoid making the drink stronger by simply running more water through the same coffee puck. That creates a longer shot, not necessarily a better cappuccino base.
Keep the cup ready before you start steaming. Milk foam begins changing as soon as steaming stops, so you do not want to spend another minute preparing the espresso while the milk separates in the pitcher.
Add Air Early Instead of Throughout the Entire Frothing Process
Dry cappuccino foam usually starts with too much air. The steam tip should sit near the milk surface only during the early part of steaming.
At the start, let the steam pull a small amount of air into the milk. You should hear a soft, controlled tearing or hissing sound rather than loud splashing. Once the milk has expanded enough for a cappuccino, raise the pitcher slightly so the steam tip sits deeper.
From that point on, stop trying to make more foam. The remaining steaming time should be used to mix the air you already added into the milk.
Milk proteins help form and hold the tiny air bubbles that create foam. Research on milk foam formation and stability shows that protein composition, temperature, processing, and foaming conditions all affect the final texture. More air alone does not create better foam.
For a cappuccino, you want more aeration than you would use for a flat white, but the milk should still look glossy and move as one mixture. If you can scoop the foam off in a stiff chunk, shorten the air-introduction stage next time.
Create a Whirlpool to Break Large Bubbles Into Microfoam
After adding air, the next job is to keep the milk spinning. A steady whirlpool pulls larger bubbles back into the liquid and helps turn them into finer, more even foam.
Position the steam wand slightly off-center rather than pointing straight down into the middle of the pitcher. The milk should roll around the pitcher in one continuous motion.
If the surface stays still while large bubbles collect on top, change the pitcher angle or wand position. Do not keep lowering the tip to add more air. More bubbles will make the foam drier, not smoother.
Signs the Whirlpool Is Working
The milk should look more glossy as steaming continues. Large visible bubbles should become less common, and the surface should move instead of building a separate foam cap.
A few bubbles at the end are not a disaster. After steaming, tap the pitcher gently on the counter to pop larger bubbles, then swirl it until the milk looks smooth and shiny.
Signs You Added Too Much Air
If the milk grows very quickly, looks stiff, or develops a thick layer that does not move with the liquid underneath, you probably stretched it for too long.
On the next attempt, stop adding air earlier and spend more time in the whirlpool stage. This is usually more effective than trying to fix dry foam after steaming is finished.
Stop Heating Before the Foam Becomes Dry or Scalded
Stop steaming before the milk gets extremely hot. For home cappuccino, around 140–150°F is a useful target range while you are learning.
Milk heated to around 140–149°F can still form stable foam without the harsher effects linked to higher steaming temperatures, while milk proteins play an important role in holding that foam together. These findings on milk temperature and foam stability during steam heating help explain why continuing to heat after the milk is already hot enough can work against the smooth texture you want.
Overheating can flatten the milk’s sweetness and make the foam harder to keep soft and pourable. Build the foam during the early part of steaming, then use the rest of the time to heat and smooth the milk rather than adding more air.
A thermometer is useful while you are learning because it removes some of the guesswork. With practice, you may learn to judge the temperature by touch, but the main goal stays the same: stop before the milk becomes too hot and the foam turns dry.
How an Espresso Maker Supports a Repeatable Coffee-and-Milk Sequence
The easiest cappuccino routine is espresso first, milk second, then pour right away. An electric espresso machine with a steam wand keeps both jobs at the same coffee station and makes the sequence easier to repeat.
A simple home workflow looks like this:
- Prepare and tamp the coffee.
- Pull the espresso into the cappuccino cup.
- Purge the steam wand briefly.
- Start with cold milk in a pitcher.
- Add air only during the early steaming stage.
- Lower the wand slightly and create a whirlpool.
- Stop around 140–150°F.
- Tap and swirl the pitcher.
- Pour the milk into the espresso immediately.
- Wipe and purge the steam wand after use.
For someone making cappuccinos regularly, the SHARDOR 20 Bar Espresso Machine with Milk Frother Steam Wand fits this workflow by keeping espresso brewing and manual milk texturing in one setup. Its adjustable steam wand lets you change the wand angle and depth as you move from early aeration to the whirlpool stage, which is more useful here than simply producing the largest possible amount of foam.
A semi automatic espresso coffee machine still leaves the important milk decisions in your hands. You control how much air enters, when to move into the texturing stage, and when to stop heating. That makes it easier to adjust the next pitcher if the first one comes out too dry or too thin.
If you want more detail on wand position and milk movement, getting the steam wand angle, aeration, and milk temperature right can help you build smoother microfoam without repeating the same mistake from one pitcher to the next.
Pour Before the Milk and Foam Separate
Do not let steamed milk sit for several minutes before pouring. Even well-textured milk begins to separate, with lighter foam rising while liquid milk settles underneath.
After steaming, give the pitcher a gentle tap and swirl. The milk should move like wet paint rather than slosh underneath a stiff layer of foam.
Start pouring while that texture is still even. This helps the espresso, warm milk, and microfoam combine instead of creating a cup with liquid milk at the bottom and a dry foam cap sitting on top.
If you need to wait briefly, keep swirling the pitcher. Do not leave it untouched on the counter while you prepare the espresso or clean the machine.
For a traditional cappuccino, you still want a noticeable foam layer. The goal is not to make it identical to a latte. The foam should simply stay soft enough to pour and drink with the rest of the milk.
Keep Cappuccino Foam Airy, Not Stiff
A good cappuccino needs more foam than a latte, but that foam should still feel soft and integrated. Add air early, stop stretching once the milk has expanded enough, then spend the rest of the steaming time creating a smooth whirlpool. Stop before the milk overheats, swirl the pitcher, and pour soon after steaming. These small timing changes usually fix dry or spoonable foam more effectively than adding more steam or trying to create a larger foam cap.

FAQs About Cappuccino Milk Foam
Q1. Why Is My Cappuccino Foam Too Thick and Dry?
You are probably adding air for too long. Introduce air only during the early part of steaming, then move the steam tip slightly deeper and focus on creating a whirlpool that mixes the bubbles into the milk.
Q2. Why Does My Steamed Milk Have Large Bubbles?
Large bubbles usually mean the steam tip is too high, the milk is not spinning well, or too much air is entering. Adjust the pitcher so the milk rolls in a steady whirlpool instead of continuing to stretch the surface.
Q3. What Temperature Should Milk Be for a Cappuccino?
Around 140–150°F is a useful target for home cappuccino. This range gives you hot milk while leaving room to keep the texture smooth rather than continuing to heat until the milk becomes scalded.
Q4. Should Cappuccino Foam Be Thick Enough to Spoon?
A traditional cappuccino has more foam than a latte, but the milk does not need to become stiff or dry. For a smoother modern cappuccino, the foam should remain fine, glossy, and pourable enough to blend with the steamed milk.
Q5. Why Does the Foam Separate From the Milk After Steaming?
Foam naturally begins rising while liquid milk settles when the pitcher sits still. Swirl the milk after steaming and pour it into the espresso promptly so the liquid milk and microfoam stay better integrated.