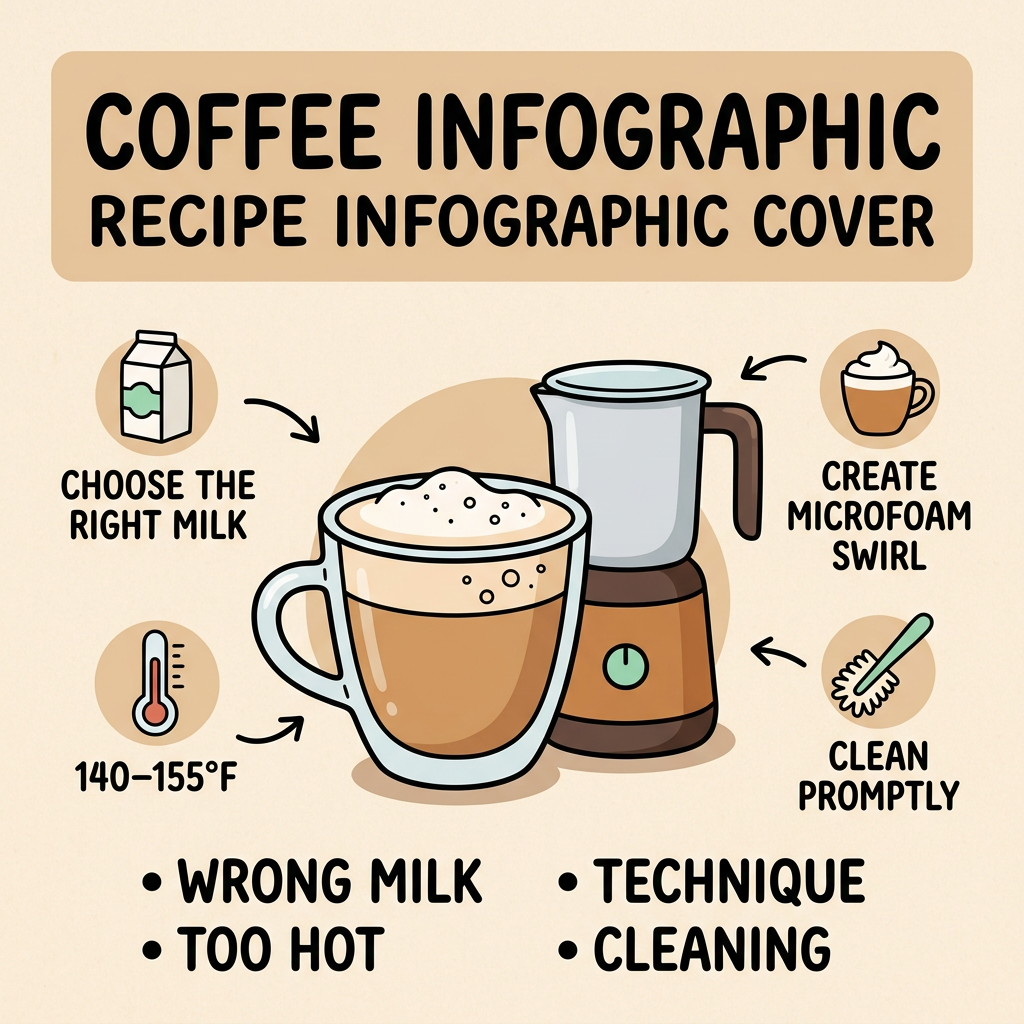

Your morning latte tastes flat, and the foam collapses within seconds. Before blaming your equipment, consider that most frothing failures come from user mistakes, not faulty milk frothers. Wrong milk choices, incorrect temperatures, poor technique, and skipped cleaning routines sabotage even the best devices. Fix these overlooked errors, and you'll finally achieve that café-quality microfoam at home without wasting more milk or money.
Milk Frother Mistake #1: Using the Wrong Milk
Milk is not just a white liquid because it is a complex balance of fats, proteins, and carbohydrates. Proteins act like the glue that holds the air bubbles together, while fats provide the richness. If you choose a milk that lacks these components, your foam will be brittle or nonexistent.
Low-fat or skim options often produce a very stiff and dry foam because they have a high protein-to fat-ratio. On the other hand, some alternative milks struggle because they lack the specific proteins found in dairy. The following table compares how common types of milk interact with your milk frother:
| Milk Type | Foam Quality | Stability | Best Use Case |
| Whole Milk | Rich and Creamy | High | Lattes and Cappuccinos |
| Skim Milk | Airy and Stiff | Very High | Dry Cappuccinos |
| Oat Milk | Velvety | Medium | Dairy-free Lattes |
| Almond Milk | Thin and Bubbly | Low | Lightly frothed coffee |
Selecting the right base ensures your milk frother has the necessary materials to build a stable structure. Once you have chosen your milk, you must also ensure it is fresh because older milk has degraded proteins that can't hold air bubbles effectively.
Pro Tip: Always use the freshest milk possible. If your milk is within three days of its expiration date, the protein structure begins to weaken, making it nearly impossible for any milk frother to create lasting foam.
Milk Frother Mistake #2: Incorrect Milk Temperature
Temperature is the silent killer of great foam. Many users assume that hotter is better, but overheating milk is a guaranteed way to ruin the flavor and texture. When milk exceeds a certain temperature, the proteins begin to denature. This means they lose their shape and can no longer hold air. This results in a burnt taste and a total collapse of the foam structure.
Ideally, your milk should be between 140 and 155 degrees Fahrenheit. If you go higher than 160 degrees, the milk scalds. Scalding refers to the point where the natural sugars in the milk, called lactose, begin to break down and lose their sweetness.
The Cold Start Advantage
Starting with cold milk is essential for success. Milk that is straight from the refrigerator gives you more time to work the air into the liquid before it reaches the maximum temperature. If you start with room temperature milk, the window for aeration is too short, and leaves you with hot milk that has no texture.
Avoiding the Overheating Trap
Using a thermometer can help you avoid the mistake of heating milk for too long. Once the milk reaches its peak temperature, the foam becomes unstable. If you notice your foam disappearing as soon as you stop the milk frother, you have likely pushed the heat too far. Keeping the temperature within the optimal range ensures the sugars remain sweet and the bubbles stay intact.
Pro Tip: Aim for 140 to 155 degrees Fahrenheit. If the pitcher feels too hot to touch for more than two seconds, you have likely exceeded the ideal temperature and ruined the foam structure.

Milk Frother Mistake #3: Poor Frothing Technique
Using a milk frother requires a bit of finesse, especially if you are using a handheld wand. A common error is inserting the whisk too deeply into the milk immediately. This just swirls the liquid around without introducing any air. To create foam, the whisk needs to be near the surface to create a hissing sound. This sound indicates air is being pulled into the milk.
Once you have created enough volume, you should submerge the whisk slightly deeper to create a vortex. A vortex is a whirlpool motion that breaks down larger bubbles into the tiny microfoam required for latte art.
- Avoid over-frothing: If you froth for too long, the foam becomes too thick to pour.
- Maintain a steady hand: Moving the wand up and down rapidly creates large and soapy bubbles.
- Tap and swirl: After frothing, tap the pitcher on the counter to pop large bubbles and swirl it to keep the milk and foam integrated.
Failing to create this whirlpool motion means the foam will sit on top of the liquid like a cloud rather than mixing into a creamy beverage.
Pro Tip: Position your whisk slightly off center. This creates a more powerful vortex that pulls large surface bubbles down into the liquid to be refined into silky microfoam.
Milk Frother Mistake #4: Neglecting Proper Cleaning
A dirty milk frother is more than just a hygiene issue because it is a performance killer. Milk contains fats and sugars that bake onto the heating elements and whisks. This buildup creates friction and prevents the whisk from spinning at the necessary speed to create foam.
Many users simply rinse the frother with water, but this is insufficient to remove the fatty film left behind. You must use a mild detergent to break down the milk solids. The small metal coil on your milk frother whisk is a magnet for buildup. If even a tiny amount of old milk remains in those coils, it can prevent the whisk from vibrating or spinning correctly.
Pro Tip: Clean your milk frother immediately after every single use. Once the milk residue dries and hardens, it requires abrasive scrubbing that can damage the non-stick coating or bend the delicate whisk.
Troubleshooting Your Milk Frother When It Won't Froth
If your milk frother still refuses to produce foam, it is time for a systematic check. Sometimes the issue is mechanical rather than ingredient-based.
- Check the Whisk Alignment: Ensure the whisk is properly seated on its spindle because even a slight misalignment can stop the rotation.
- Test the Power Source: Check the power source or battery levels. A weak battery in a handheld milk frother might not have the torque necessary to overcome the resistance of the liquid. Torque refers to the twisting force that causes rotation.
- Inspect for Blockages: Look for any tiny bits of dried milk that might be hidden behind the spinning parts.
- Evaluate Milk Frothability: Occasionally, even a fresh carton of milk can be a bad batch due to seasonal changes in the cows' diet, which affects the protein levels.
Performing these quick checks can save you from the frustration of a flat coffee and help you determine if your device needs a simple fix or a total replacement.
Upgrade Your Morning Brew
Avoiding these common pitfalls will immediately improve the quality of your coffee. Focus on using cold and protein-rich milk and maintaining a clean machine to ensure consistent results every time you foam. With a little practice and attention to temperature, you can master the art of the perfect pour.
FAQs about Frothing Milk Tips
Q1. Can You Froth Milk That's Already Been Heated?
Yes, but fresh, cold milk always froths better than milk that has been reheated. Milk that has already been heated has already experienced protein alterations that lessen its capacity to produce stable bubbles. It will have a flatter, less creamy feel. Always start your milk frother with fresh, chilled milk that hasn't been heated before for optimal results.
Q2. Does Milk Fat Percentage Really Matter for Frothing?
Of course. When using any milk frother, the percentage of fat impacts the stability and quality of the foam. Skim milk produces the maximum volume but tastes thin. Rich, creamy foam that maintains its shape longer is produced by whole milk. For high-quality outcomes, the majority of baristas advise against using very low-fat milk.
Q3. How Long Should Frothed Milk Sit Before Using?
For optimal texture and temperature, use frothed milk right away. Soon after you stop using your milk frother, foam starts to separate from the liquid milk. Swirl the pitcher lightly to reintegrate any separation if you have to wait a short while. Don't leave frothed milk out for too long.
Q4. Why Does My Plant-Based Milk Separate When Frothing?
The protein structure and emulsifiers required to stabilize the foam produced by a milk frother are absent from regular plant-based milks. In particular, look for "barista edition" plant milks, which have stabilizers and extra proteins to withstand the frothing process. Because oat milk has a naturally higher protein content than almond or coconut milk, it typically performs better.